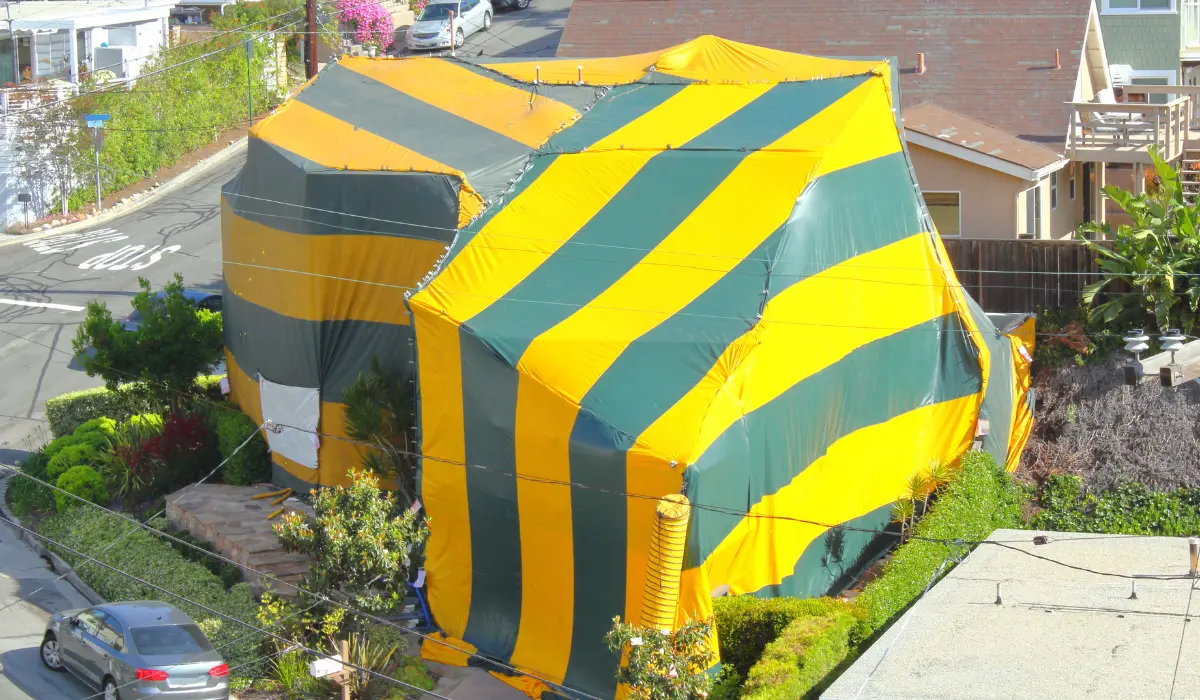
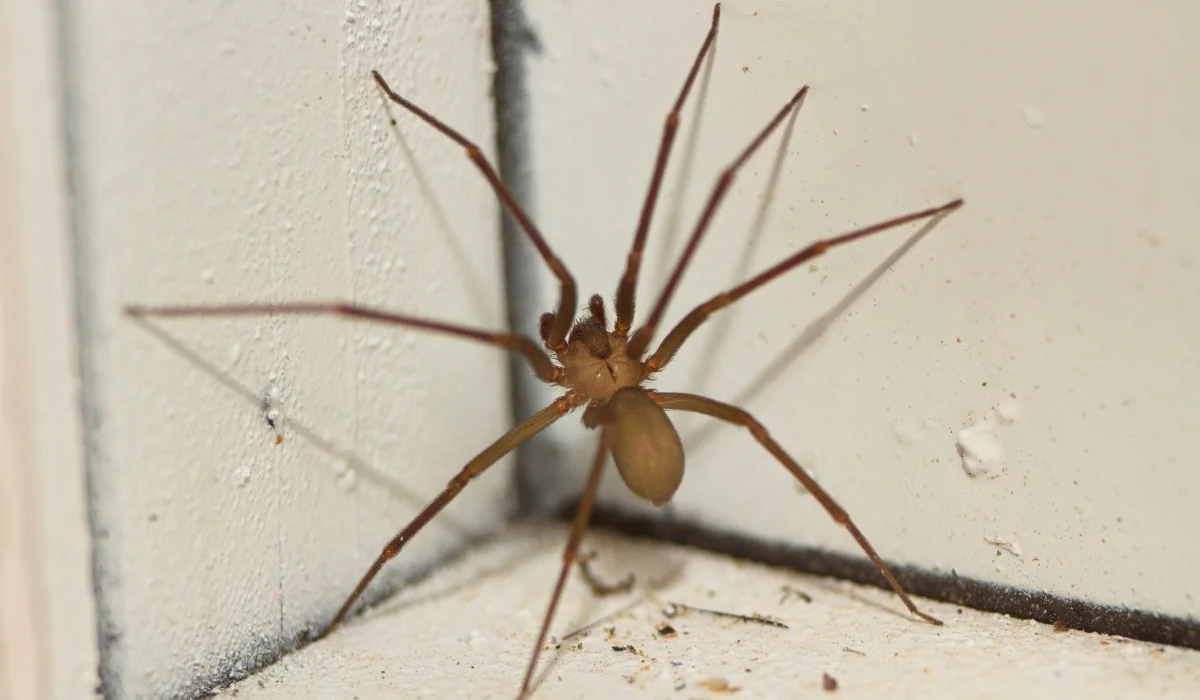
Getting ready for termite tenting can seem like a big task, but with the proper steps, it doesn’t have to be stressful.
Start by removing all pets and plants from your home to ensure their safety during the process. Backing or removing all food, medications, and consumable items is also essential to prevent contamination.
Are you prepared to spend a few days outside your home while the tenting is underway? Keep reading to learn all the tips and tricks for preparing for termite tenting.
Key Takeaways
- Preparing your home for fumigation involves securing perishables, plants, and pets and arranging a temporary stay to ensure safety from harmful chemicals.
- During tent fumigation, it’s crucial to follow professional guidelines for gas safety, secure the home properly, and ensure effective communication with the fumigation team.
- When DIY pest control fails and termite infestation signs worsen, you can consider professional tenting services to ensure expert handling tailored to your home’s needs.
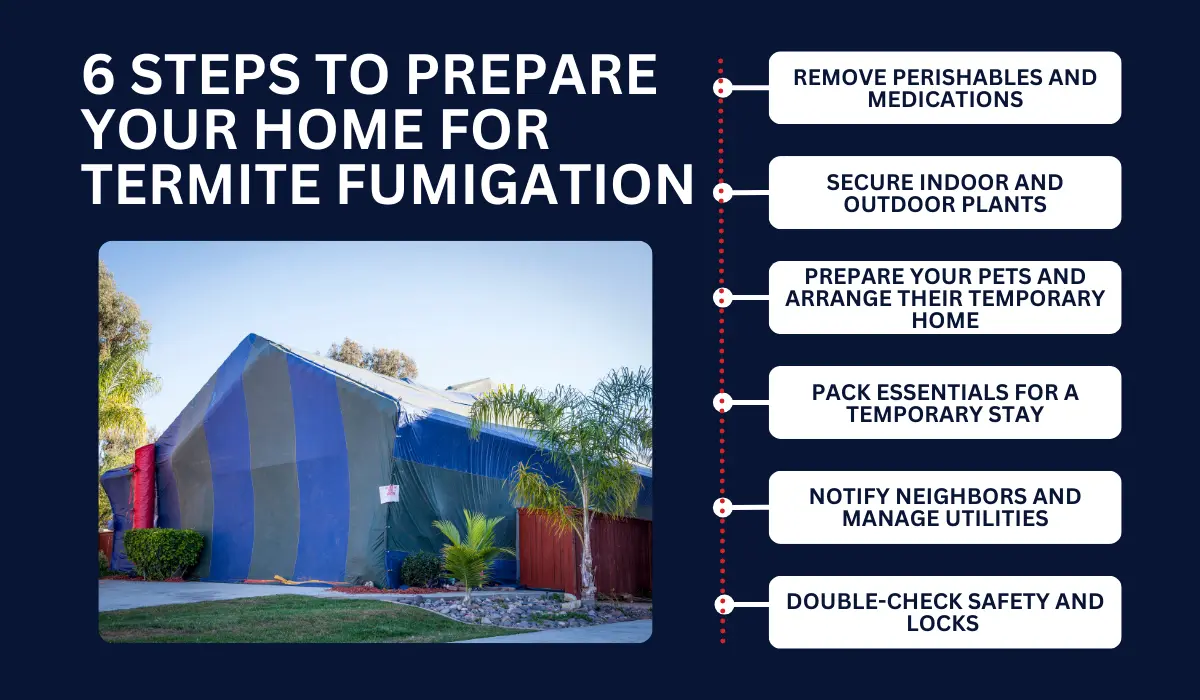
6 STEPS TO PREPARE YOUR HOME FOR TERMITE FUMIGATION
Fumigation is a professional termite treatment to eliminate various species like subterranean and drywood termites and bed bugs.
Since it’s a risky process, pest management companies recommend strict fumigation preparation to ensure safety and effectiveness.
1. Remove Perishables and Medications
It’s crucial to remove items that could be affected by the chemicals used during fumigation. Remove the following from your home:
- Fresh Produce and Food Items
- Cereals and Other Unopened Packaged Foods
- Pet Food and Essentials
- Medications
- Tobacco Products
2. Secure Indoor and Outdoor Plants
Termite fumigation can severely affect plants inside and around your home. To prevent damage, proper precautions are necessary, such as:
- Move houseplants outside.
- Cover landscaping plants near the house with plastic covers or tarps.
- Trim back the shrubbery and remove mulch near the foundation.
3. Prepare Your Pets and Arrange Their Temporary Home
Pets need special attention during fumigation, as the chemicals can harm them. Arrange for temporary care for:
| Pets | Details |
|---|---|
| Dogs, Cats, and Larger Pets | Set up temporary boarding or arrange for them to stay with friends or family. |
| Aquariums | Disconnect pumps and cover tanks tightly. |
| Bird Cages | Ensure birds are relocated to a safe environment away from the fumigation zone. |
4. Pack Essentials for a Temporary Stay
Prepare to stay away from your home for at least 1-2 nights or during the fumigation process. To ensure comfort and convenience, pack essential items, including:
- Clothing
- Medications
- Important Documents and Valuables
- Personal Care Items
5. Notify Neighbors and Manage Utilities
Before starting the fumigation, you must communicate with your neighbors and properly handle essential utilities. Here’s what you need to do to ensure safety:
- Notify your neighbors of the fumigation schedule.
- Schedule a meeting with the gas company to shut off the gas service and pilot lights.
- Turn off gas lines and unplug major appliances, such as refrigerators.
6. Double-Check Safety and Locks
Before leaving, a final check to ensure that everything is secure and safe is crucial. Here’s what you need to check:
| Aspects | Details |
|---|---|
| Double-Bag | Verify that food and medications are double-bagged properly. |
| Lock Up | Secure windows, doors, and any entry points. |
| Pets and Plants | Make sure all pets are relocated and all plants are secured. |
SAFETY BEFORE AND AFTER TENT FUMIGATION
Protecting residents, pets, and belongings ensures safety during tent fumigation. As homeowners, here’s what you need to know.
Follow Pest Control Professional Guidelines for Gas Safety
Using fumigant gasses, like Vikane and other pesticides, requires strict adherence to safety protocols. To minimize risks and exposure to toxic gasses, you must be aware of these critical guidelines from trained professionals:
- Hire certified fumigation experts: Ensure the professionals are licensed and experienced.
- Follow all pre-fumigation instructions: Remove all living things, including plants and pets, and double-bag food and medicines.
- Seal entry points: Close all windows, doors, closets, and crevices to secure the gas inside.
- Signage: Verify that warning signs are posted around the property.
- Communication: Regularly contact the fumigation team for updates and guidance.
Plan for Safe Reentry and Ventilation Post-Tenting
After the tenting process, proper aeration and safe reentry are crucial. Re-entering the home prematurely can lead to significant health risks due to lingering fumigant gas.
Critical steps for safe re-entry include:
| Steps | Details |
|---|---|
| Wait for professional clearance | Only re-enter the home after the fumigation team gives the all-clear. |
| Ventilation | Professionals will ventilate the home to disperse harmful gases. |
| Revisit accessible crevices and spaces | Ensure areas like closets and small crevices are adequately aerated. |
| Heaters and fans | Expedite the aeration process around the mattresses, linens, and other areas. |
| Inspect | Inspect to ensure no lingering fumes or residual chemicals remain. |
IS IT TIME TO CALL THE EXPERTS?
If DIY pest control treatments haven’t worked and signs of subterranean or dry wood termite infestations have worsened, you might also need the help of pest control experts.
Whether you’re in Baton Rouge or New Orleans, seeking expert help should be easy. For immediate intervention for a severe infestation, let Lajaunie’s termite control specialists tailor a solution that’s right for your home.
For more information about the areas we service, visit our location page.
 By: LaJaunie's Pest Control